What Do I Need to Know Before Buying a House to Flip? A First-Time Flipper’s Checklist
Lately, I’ve been spending time learning what actually needs to happen before you close on a fix-and-flip, not the glamorous renovation part, but the preparation that determines whether the deal is solid or stressful.
These are my notes, organized in a way that helps me understand the process and explain it clearly to someone else who’s learning too.
1. The First Thing I Learned: Start With a Rough Analysis
Before anything else, the deal has to make sense on paper.
The moment a property becomes available, the first thing you should do is conduct a rough analysis. This means:
Looking through photos or doing a quick walkthrough
Estimating repairs at a high level
Plugging numbers into a deal analyzer
At this stage, you’re not trying to be perfect. You’re just answering one question:
Is this deal even worth pursuing further?
If the numbers don’t work here, nothing else matters.
2. Offers Aren’t Just About Price — Due Diligence Matters
One big takeaway for me was how important the due diligence period is.
When making an offer, learning to always build in a short due diligence window (usually 24–72 hours). This gives you time to:
Get inspections done
Bring contractors through
Confirm my numbers before I’m fully committed
This step protects you from guessing, and guessing is expensive in real estate.
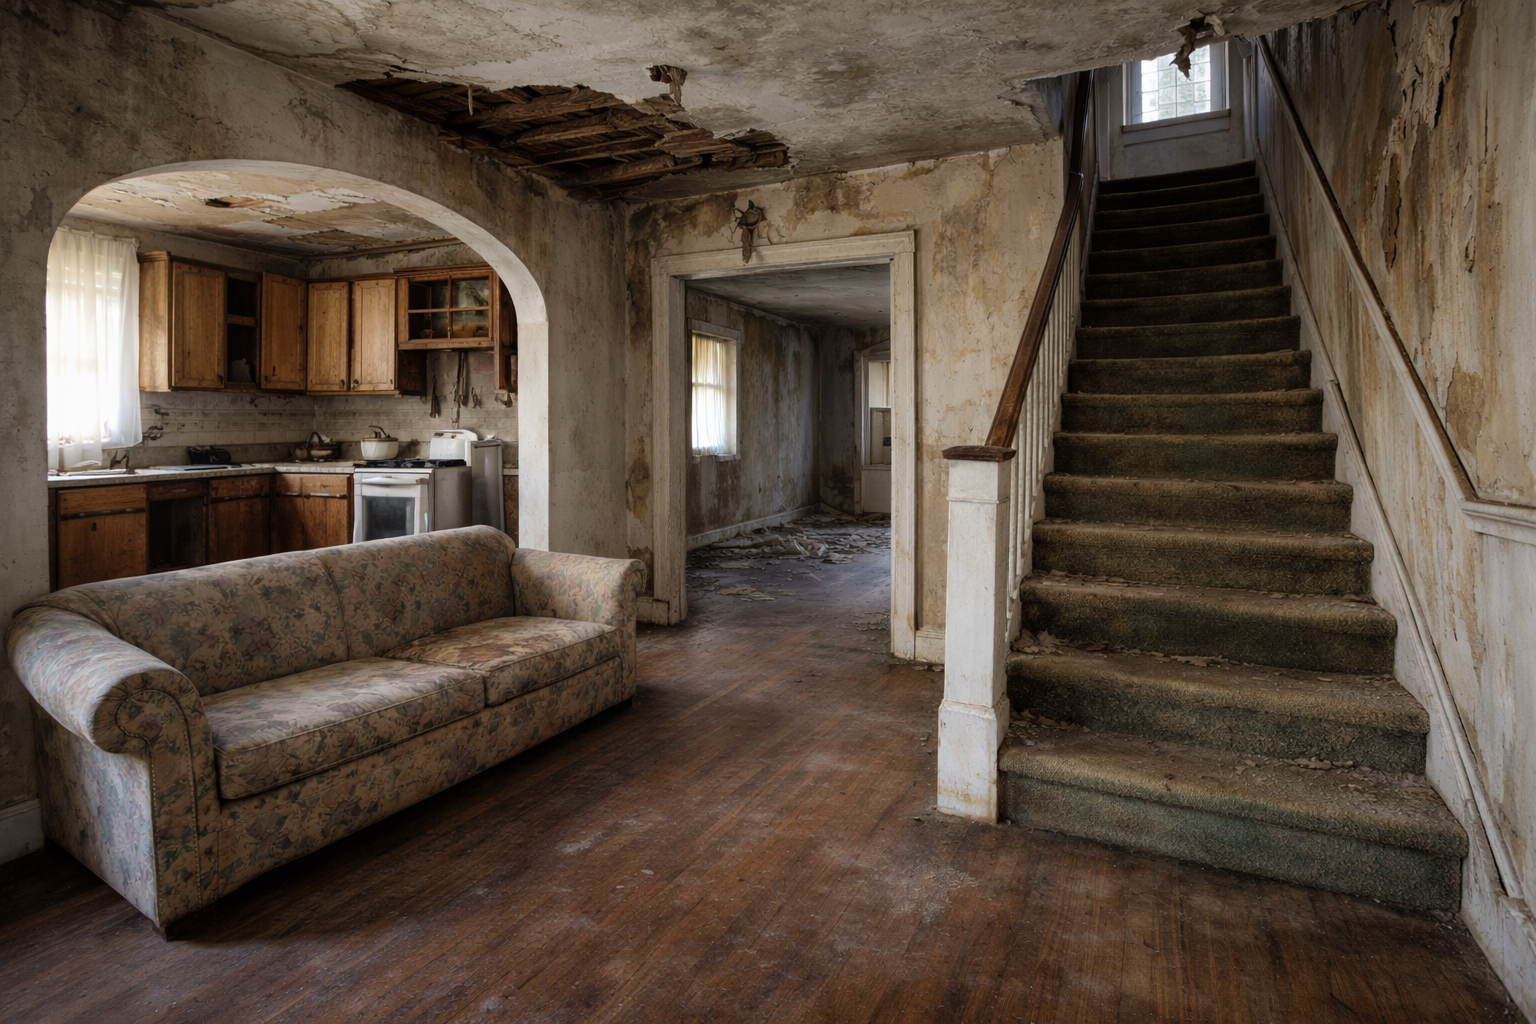
3. Inspections + Scope of Work Go Hand in Hand
During due diligence, the goal is clarity.
I learned that this is when you:
Hire a home inspector
Walk the property with a general contractor or trusted subs
Start building a real scope of work
The scope of work is basically the backbone of the entire flip. It’s a line-by-line list of:
What’s getting repaired
What’s getting replaced
What’s cosmetic vs structural
Without this, everything else is just assumptions.
4. Contractor Bids Turn Guessing Into Numbers
Once the scope of work is clear, I’m learning that it’s time to get real bids.
This means:
Sending the same scope to multiple contractors
Comparing pricing line by line
Understanding where costs can fluctuate
This step turns a rough estimate into an actual budget, and that directly affects profit.
5. Permits and Drawings Can Slow You Down If You Ignore Them
Another big note I wrote down:
Permits don’t wait for you.
If the flip involves structural changes, layout changes, or major systems:
Permits may be required
Architectural drawings might be needed
I’m learning that handling this before closing (or at least planning for it) can save weeks of delays once the project starts.
6. Insurance Is Part of the Closing Prep
This was something I honestly hadn’t thought deeply about before.
Before closing, I need to have:
A vacant home policy or builder’s risk insurance
Coverage is active as soon as I take ownership
No insurance = unnecessary risk. Simple as that.
7. Stay Aligned With the Lender
The final piece I noted is communication.
As closing approaches, everything needs to be aligned:
The lender has final numbers
The scope of work supports the loan
Timelines are clear
If any piece is off, closing gets delayed—or worse, falls apart.
What This Process Is Teaching Me
The biggest lesson I’m taking away is this:
A successful flip is decided before you ever close.
The renovation executes the plan. The preparation is where discipline, patience, and wisdom matter most.
“By wisdom a house is built, and through understanding it is established.” — Proverbs 24:3